Setting up a reverse proxy for Odoo can be a crucial yet sometimes complicated step in the deployment process. Traditionally, configuring Nginx as a reverse proxy involves a series of manual adjustments, text-based configurations, and careful syntax validation. This approach, while robust, can be time-consuming and prone to human errors, particularly if you're not familiar with Nginx or reverse proxy setups.
I will be introducing the Nginx Proxy Manager—an intuitive, Dockerized solution that simplifies this entire endeavor. Using a straightforward graphical interface, Nginx Proxy Manager takes away much of the manual complexity involved in setting up a reverse proxy. With just a few clicks, you can point a domain name to your Odoo instance, making it instantly accessible over the internet. This not only speeds up deployment but also significantly reduces the learning curve, letting you focus more on using Odoo to its full potential rather than getting bogged down by technical configurations.
Quick Setup
In this tutorial I will be using Portainer to deploy all containers, but you could do this manually as well. To set this up, follow my Dock, Stack & Launch: Odoo deployment with Docker and Portainer tutorial. I will be using the stack below to deploy the Nginx Proxy Manager.
version: '3.8'
services:
  nginx-manager:
    image: 'jc21/nginx-proxy-manager:latest'
    restart: unless-stopped
    container_name: nginx-manager
    ports:
      - '80:80'
      - '81:81'
      - '443:443'
    volumes:
      - nginx-data:/data
      - nginx-letsencrypt:/etc/letsencrypt
    networks:
      - web

volumes:
  nginx-letsencrypt:
    external: true
  nginx-data:
    external: true

networks:
  web:
    external: true
    name: web
The docker-compose.yml file outlines the necessary configuration for our Nginx Proxy Manager instance, including the latest Nginx Proxy Manager image, container name, restart policy, network connections, volume mounts, and port mappings. Make sure you create the network and volumes before you deploy the stack.
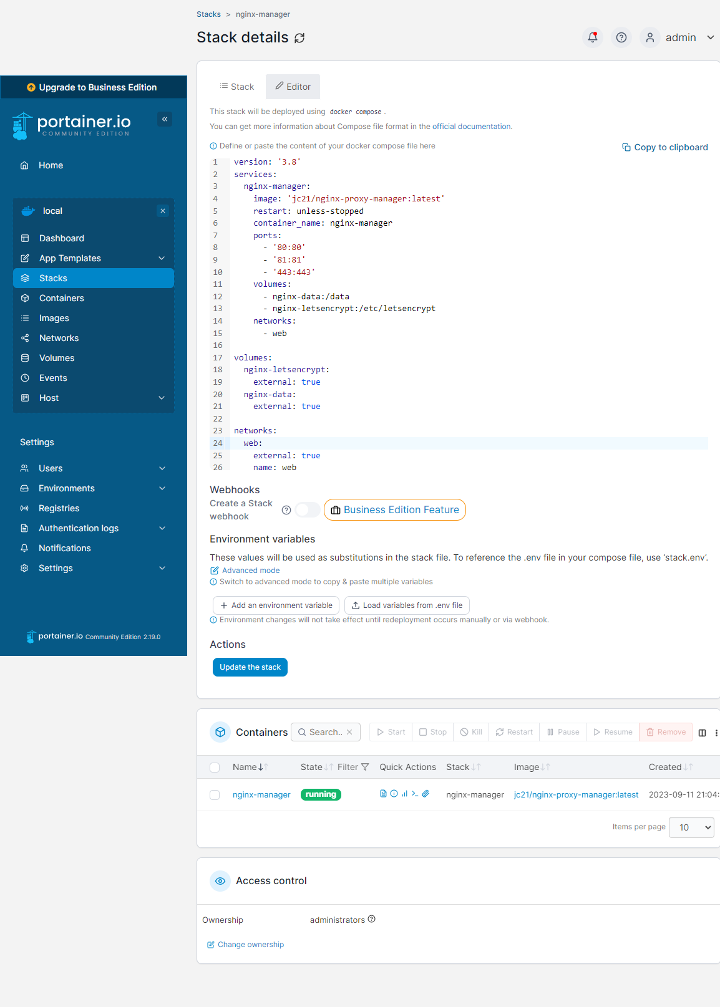
After you have clicked on 'Deploy' and when the deployment is finished the Nginx Proxy Manager container should be running. If you have followed the steps from my Dock, Stack & Launch: Odoo deployment with Docker and Portainer tutorial you should now have four containers running.
$ docker ps
CONTAINER ID   IMAGE                             NAMES
e04f80d1ac96   odoo:15.0                         odoo
f578fa230915   postgres:14.1-alpine              odoo-postgres
210d80f603ea   jc21/nginx-proxy-manager:latest   nginx-manager
088a8b73ab36   portainer/portainer-ce:latest     portainer
After successful deployment (sometimes this can take a little bit because of the entropy of keys) you can access the Nginx Proxy Manager. You can access the dashboard with the IP address of your server using port 81 (e.g., http://127.0.0.1:81). You can login with the email admin@example.comand password changeme.
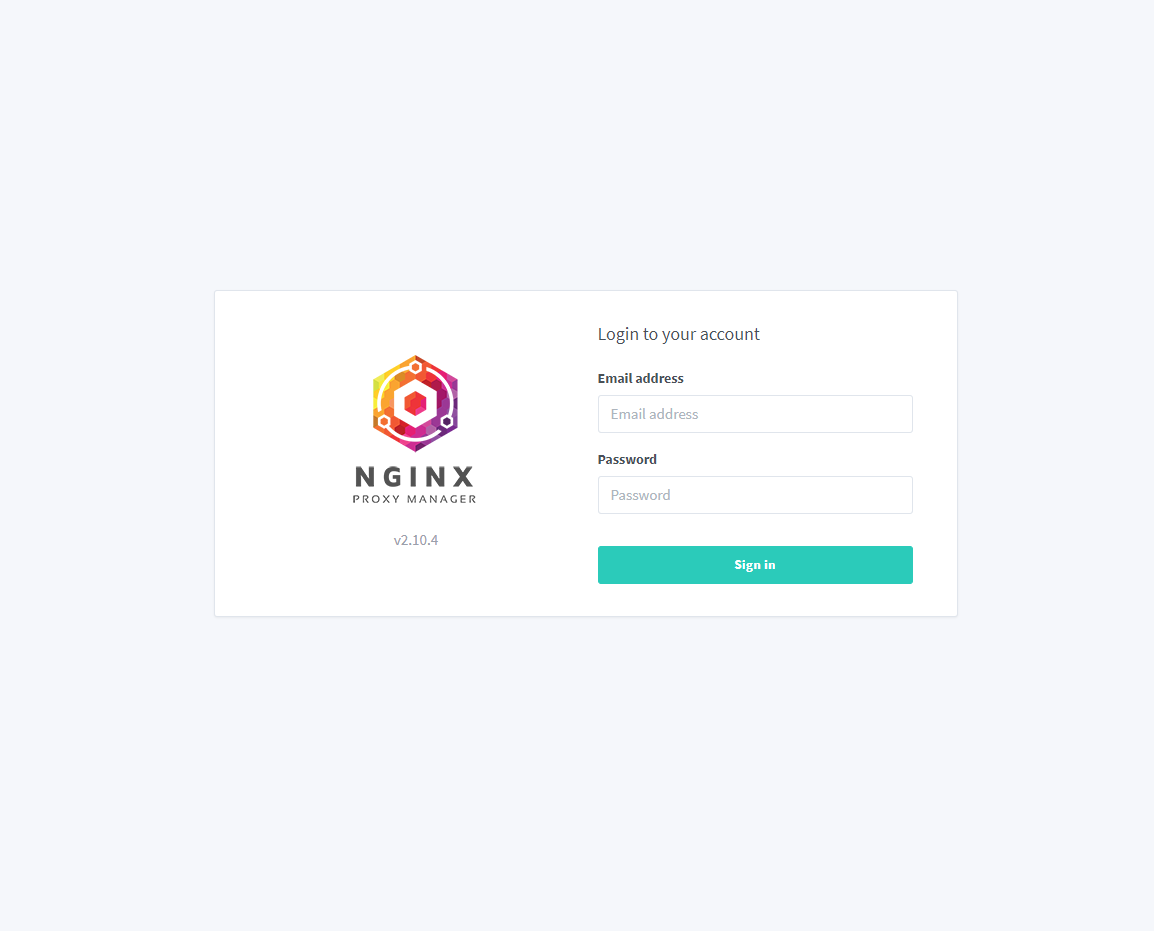
After logging in make sure you change the user settings and password. For the purpose of this tutorial I will continue using the default user settings.

Adding a Proxy Host
In order to point your domain to your Odoo instance you must create at least one DNS record for a domain name to proxy your service to. This tutorial uses example.com as the domain, but make sure you replace that with your actual domain name. Also make sure that you create an A/AAA DNS record pointing the domain to the public IP address for the server running the Nginx Proxy Manager container.
To configure your reverse proxy and point your domain to your Odoo instance click on the ‘Proxy Hosts’ link on the admin console’s dashboard and click the ‘Add Proxy Hosts’ button. Here you can add your domain name, the Odoo container as your hostname, and the port on which this container is listening. You can also activate the 'Block Common Exploits' option as this is generally a nice feature to have.
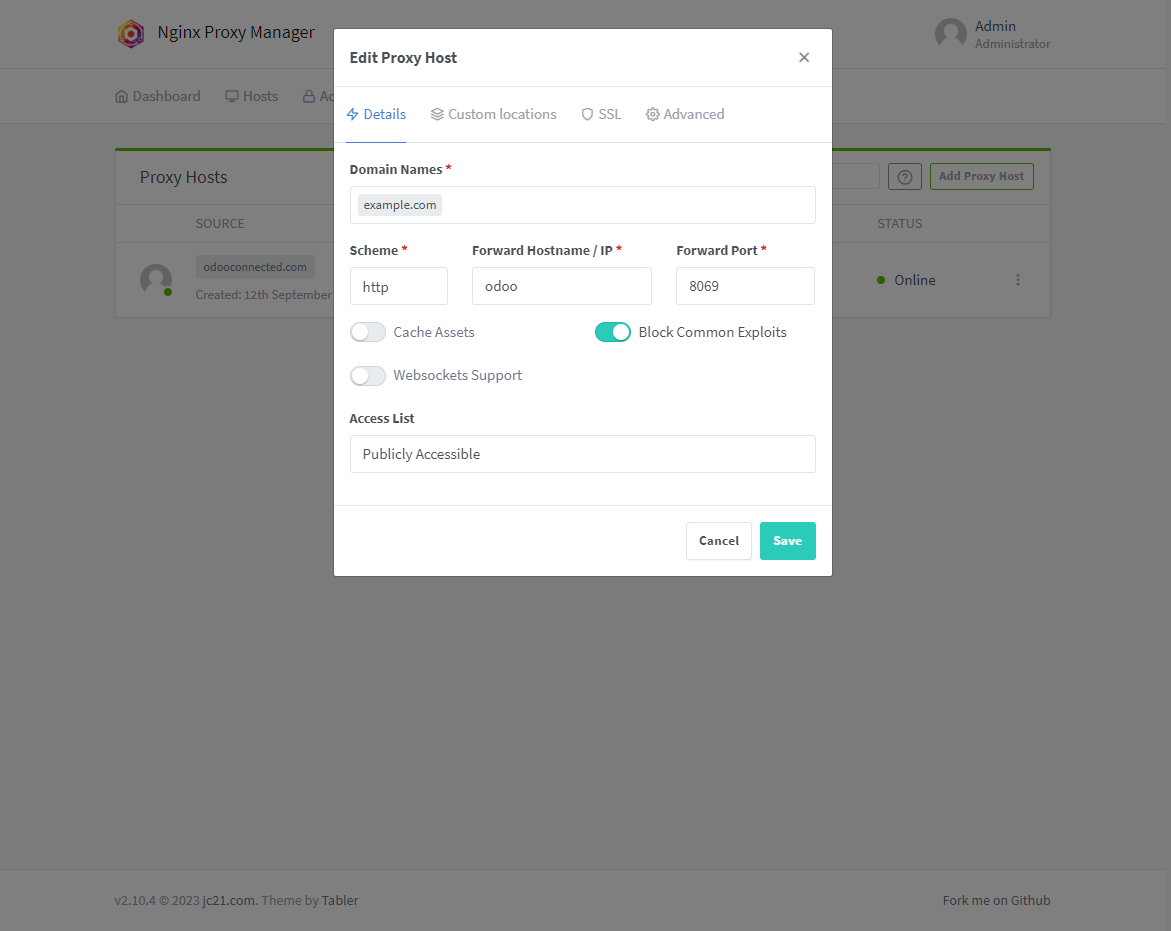
If you click in the SSL Tab you can configure a new SSL certificate, or use an existing one. Select 'Request a new SSL Certificate', activate 'Force SSL' to ensure that HTTPS is used, encrypting traffic to and from the service. For a Let's Encrypt Certificate you need to provide a valid email address and you have to agree with their terms.

Click on Save to complete your reverse proxy and you are done! Your reverse proxy for the Odoo instance is now in place.
Note
This is a bare minimum configuration to setup a reverse proxy for Odoo. Additionally you can setup custom locations for the Odoo chat (i.e., /longpolling) or use GZIP compression and caching to improve performance in the advanced mode.
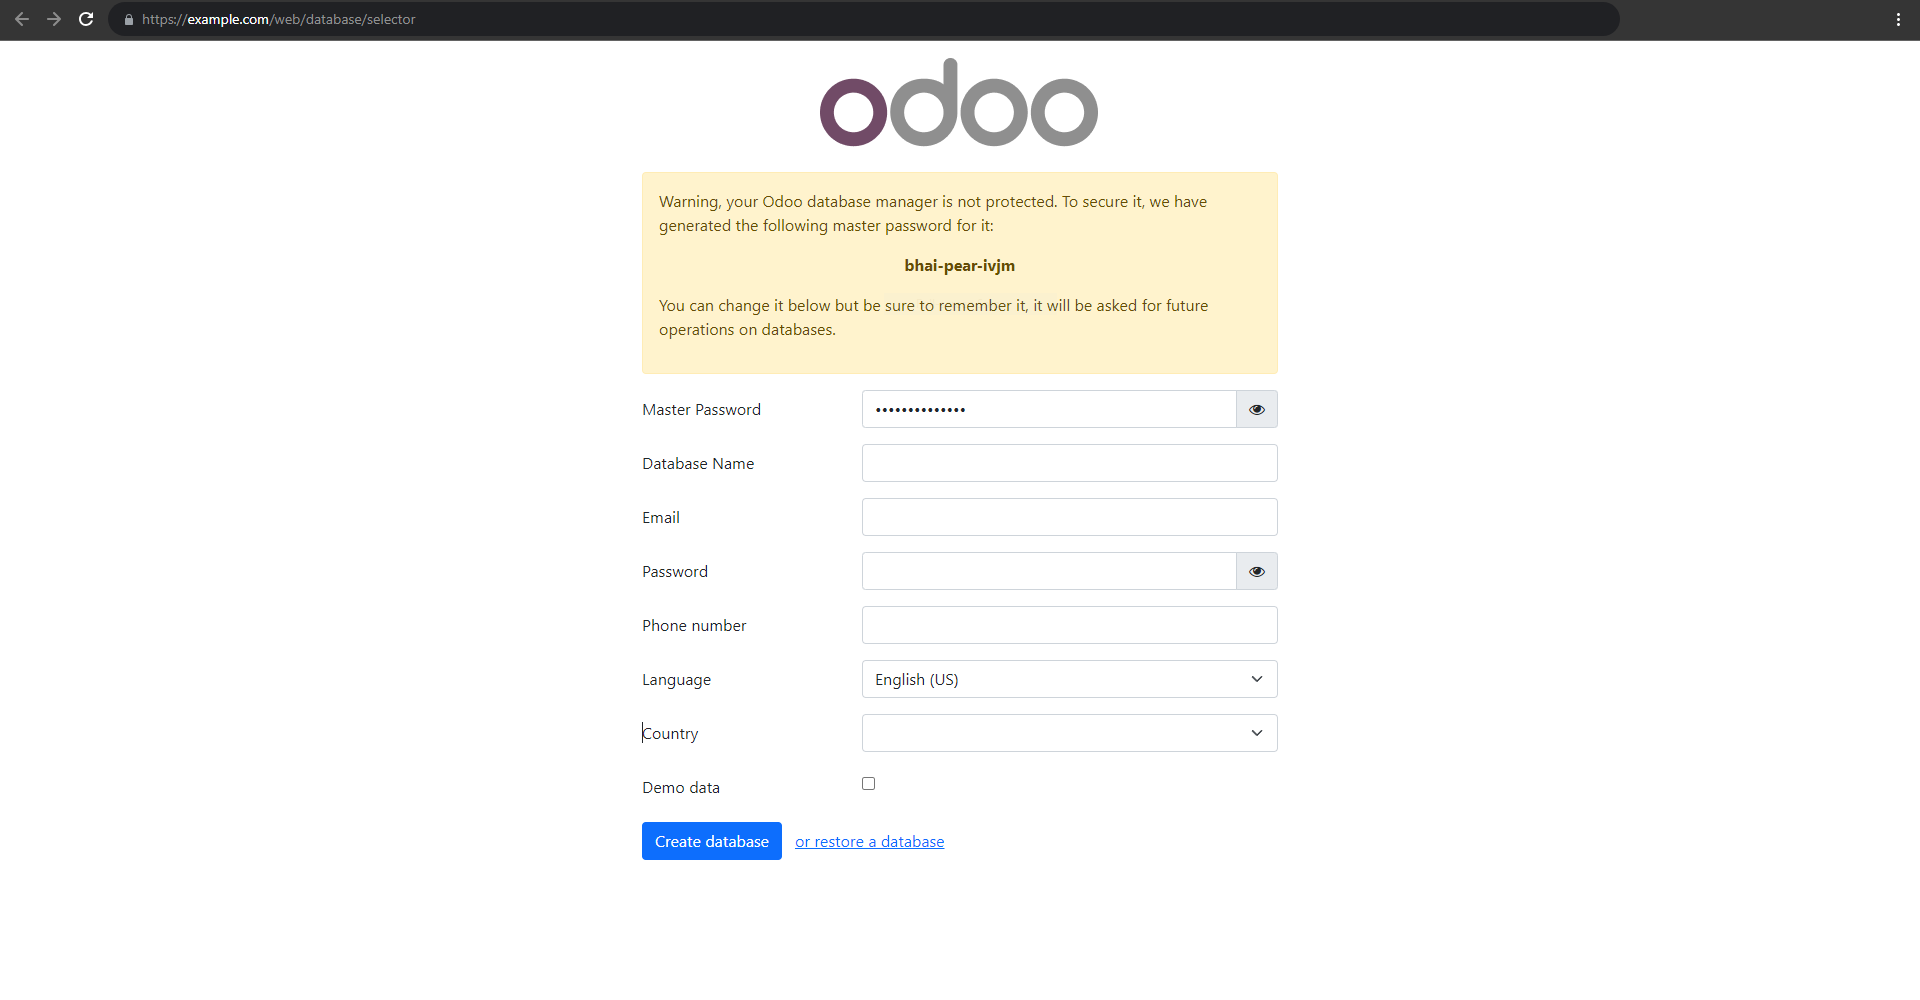
If you enter your domain name in your browser you should automatically be redirected to your Odoo instance. Moreover, your domain uses a SSL certificate, thus all your web traffic from and to your Odoo instance is encrypted.
Conclusion
That's it! I hope you have a better understanding of how to configure a reverse proxy for your Odoo container. If you want to know more about the Nginx Proxy Manager or support it's contributors you can check out their website.