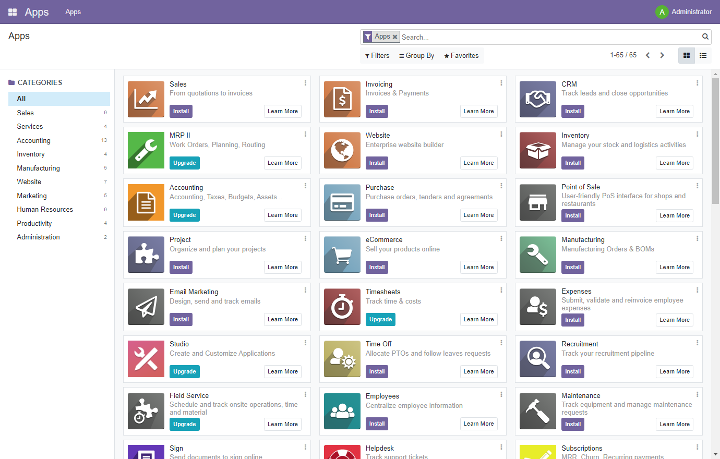
Odoo is a powerful open-source suite of integrated business applications designed to streamline operations, covering areas such as CRM, sales, project management, manufacturing, inventory management, and accounting. With its modular architecture and user-friendly interface, Odoo enables to select and deploy the applications that you need for your business. Moreover, by running Odoo as a containerized application, you can enjoy a variety of benefits that include easier deployment, improved scalability, and enhanced security.
Containerization is the process of packaging an application and its dependencies into a single, lightweight, and portable unit called a container. One of the most popular container platforms is Docker, which provides a simple way to manage and deploy containers on various environments. Using Docker to run Odoo as a container allows you to quickly and easily deploy Odoo in a consistent manner, regardless of the underlying infrastructure. Additionally, containerization helps improve the scalability of the application by facilitating the addition or removal of resources as needed, without affecting the system's overall stability or performance.
To further optimize the management of containers, Portainer is an excellent choice. Portainer is an open-source container management tool that simplifies the process of deploying, monitoring, and maintaining containers. With its intuitive graphical user interface, Portainer allows users to easily manage their Docker environments, including the creation and configuration of container stacks, networks, and volumes. By using Portainer to manage Odoo containers, you can focus on your business, while Portainer takes care of the container orchestration and maintenance tasks.
In summary, running Odoo as a containerized application offers several advantages for businesses, such as ease of deployment, enhanced scalability, and improved security. By leveraging Docker for containerization and Portainer for container management, you can build a robust, flexible, and efficient business management platform. This blog post will guide you through the process of installing and configuring Odoo in a Docker container and managing it with Portainer.
Prerequisites
Before diving into this tutorial, ensure that you have Docker and Docker Compose installed on your system:
While this guide is compatible with most operating systems (e.g., Windows, macOS, and Linux), it's important to note that for a production environment, whether on-premise or in the cloud, setting up everything in a Linux environment is highly recommended. Linux is the preferred choice due to its inherent stability, security, and performance benefits, as well as its widespread adoption in server infrastructure.
Portainer
Before diving into the Odoo installation, let's first set up Portainer, a powerful and user-friendly container management tool. In this section, I'll walk you through the process of installing Portainer, ensuring you have an efficient and seamless way to manage your Odoo containers and other Docker resources.
Docker-compose configuration
I'll be using a docker-compose.yml file to simplify the setup of Portainer.
$ mkdir portainer
$ echo "" > docker-compose.yml
The docker-compose.yml file outlines the necessary configuration for our Portainer instance, including the latest Portainer Community Edition image, container name, restart policy, security options, network connections, volume mounts, and port mappings. Notably, the configuration includes a bind mount for the host's Docker socket, which allows Portainer to manage the Docker daemon on the host. Additionally, a named volume called "data" is defined for storing Portainer's configuration data.
version: '3'
services:
portainer:
image: portainer/portainer-ce:latest
container_name: portainer
restart: unless-stopped
security_opt:
- no-new-privileges:true
networks:
- web
volumes:
- /etc/localtime:/etc/localtime:ro
- /var/run/docker.sock:/var/run/docker.sock:ro
- data:/data
ports:
- 9000:9000
volumes:
data:
networks:
web:
external: true
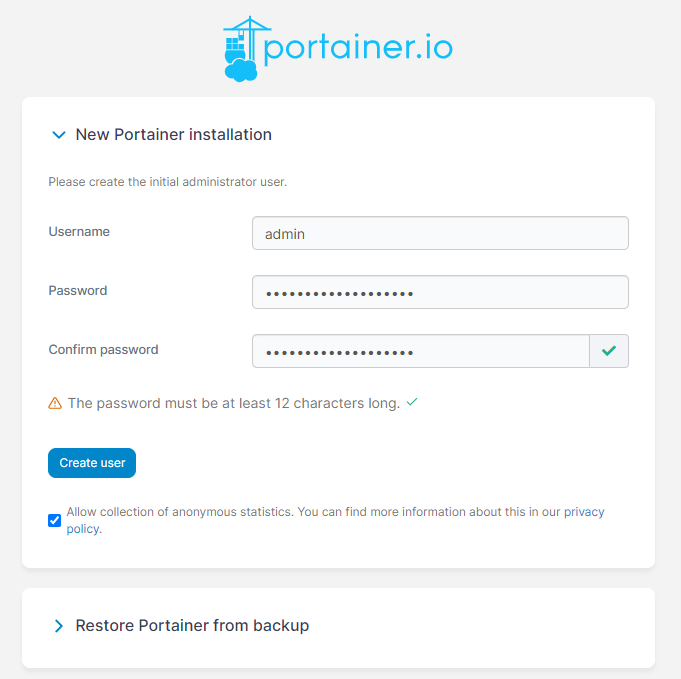
name: webDocker Compose automatically handles the creation of this volume if it doesn't already exist. The Portainer container will be connected to an external network named "web," which must be created beforehand using $ docker network create web. With this configuration in place, running $ docker-compose up -d --build will set up Portainer, enabling you to manage your Odoo containers and other Docker resources with ease. Open Portainer by navigating to http://localhost:9000 (or the appropriate IP address of your host) in your web browser. If everything worked you can now finish the installation and login to Portainer.
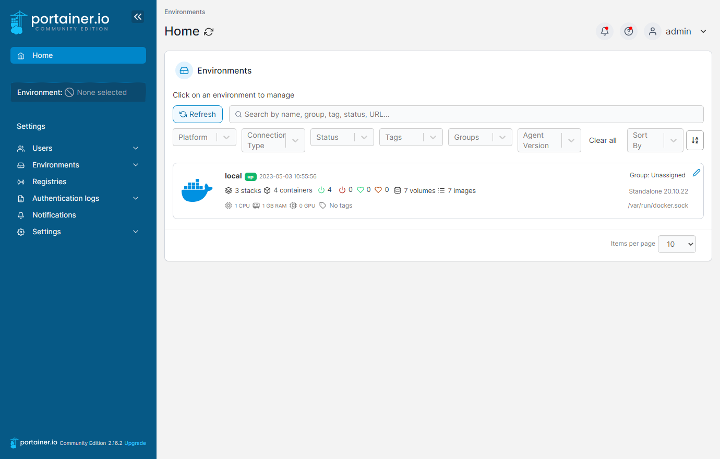
When you updated or created a user you get redirected to the main dashboard. If you click on your local environment you can start managing your containers.
Installing Odoo
Now that we have Portainer up and running, it's time to dive into the installation of Odoo and PostgreSQL. In this section, I'll guide you through the process of deploying Odoo and PostgreSQL as a Stack using Portainer. This setup will ensure you have a powerful, integrated business management solution with a robust database backend at your fingertips.
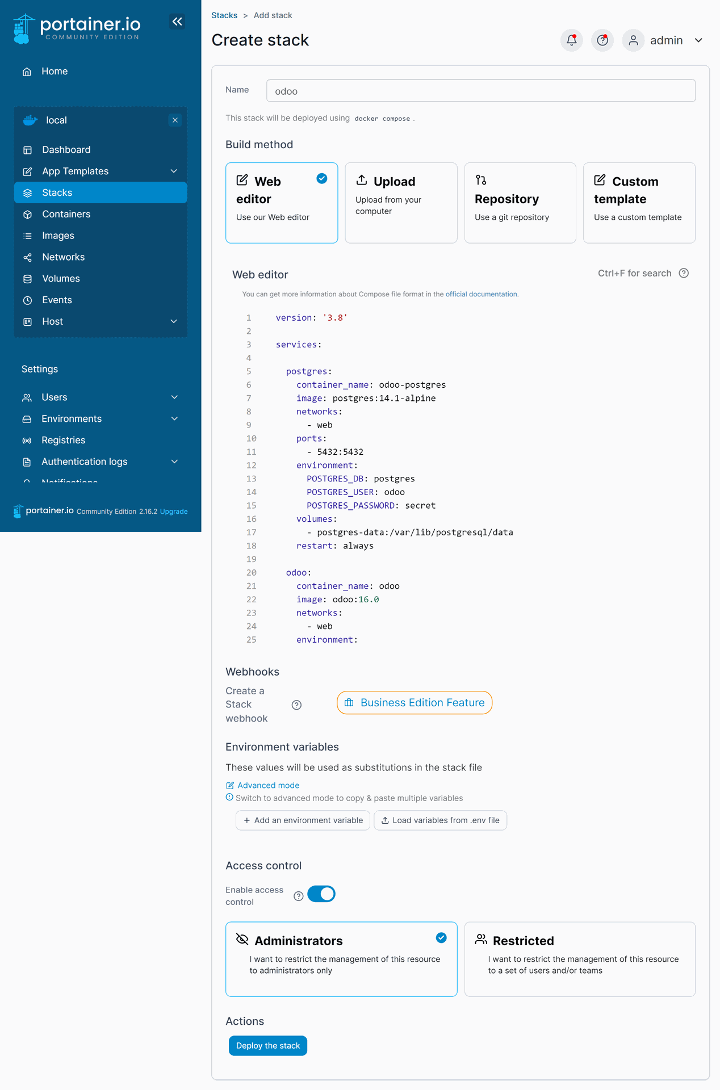
In this section, I'll walk you through the steps to install Odoo and PostgreSQL as a Stack using Portainer:
- In the Portainer dashboard, click on "Stacks" in the left sidebar menu.
- Click on the "Add stack" button at the top-right corner of the page.
- Provide a name for your Stack (e.g., "odoo").
- In the "Web editor" tab, copy and paste the contents of the docker-compose.yml file below.
- Click on the "Deploy the stack" button at the bottom of the page. Portainer will now create the necessary containers and networks, and start the services defined in the docker-compose.yml file.
version: '3.8'

services:

  postgres:
    container_name: odoo-postgres
    image: postgres:14.1-alpine
    networks:
      - web
    ports:
      - 5432:5432
    environment:
      POSTGRES_DB: postgres
      POSTGRES_USER: odoo
      POSTGRES_PASSWORD: secret
    volumes:
      - postgres-data:/var/lib/postgresql/data
    restart: always

  odoo:
    container_name: odoo
    image: odoo:16.0
    networks:
      - web
    environment:
      HOST: postgres
      USER: odoo
      PASSWORD: secret
    depends_on:
      - postgres
    ports:
      - 8069:8069
    volumes:
      - config:/etc/odoo
      - extra-addons:/mnt/extra-addons
      - data:/var/lib/odoo
    restart: always
    links:
      - postgres

volumes:
  postgres-data:
  config:
  extra-addons:
  data:

networks:
  web:
    external: true
    name: web
The docker-compose.yml file creates two services: postgres and odoo. The PostgreSQL service uses the postgres:14.1-alpine image and sets up environment variables for the database, user, and password. It also defines a named volume to persist PostgreSQL data. The Odoo service uses the odoo:16.0 image, connects to the PostgreSQL service, and sets up environment variables for the host, user, and password. Additionally, it defines named volumes for the Odoo configuration, extra-addons, and data directories. Both services are connected to the external "web" network.
With the Stack deployed, you now have a fully functional Odoo instance connected to a PostgreSQL database, ready for you to start managing your business operations.
Note
Of course, you could have done all of this running the $ docker-compose up -d --build command and the stack would also show up in Portainer. However, creating a stack in Portainer offers several advantages over running $ docker-compose up -d --build directly from the command line:
- User-friendly interface: Portainer provides a web-based, graphical user interface that makes it easier to manage and monitor your stacks, containers, and other Docker resources, particularly for users who may not be comfortable with command-line tools.
- Centralized management: Portainer allows you to manage multiple Docker hosts and Swarm clusters from a single dashboard. This centralization simplifies the management of containers and stacks across different environments, which can be particularly beneficial for larger deployments or distributed teams.
- Access control: Portainer enables you to set up role-based access control for users, allowing you to define and manage user permissions for different Docker resources, such as stacks, containers, and networks. This capability is particularly useful in team environments, where you may need to restrict or grant access to specific resources based on a user's role.
- Monitoring and logs: Portainer provides a built-in monitoring system that allows you to keep an eye on the performance and status of your stacks, containers, and other Docker resources. Additionally, you can easily access container logs through the Portainer interface, making it simpler to diagnose and resolve issues.
- Template management: Portainer supports the creation and management of application templates, allowing you to easily deploy pre-configured stacks with just a few clicks. This feature is especially useful for organizations that need to deploy standardized applications across multiple environments.
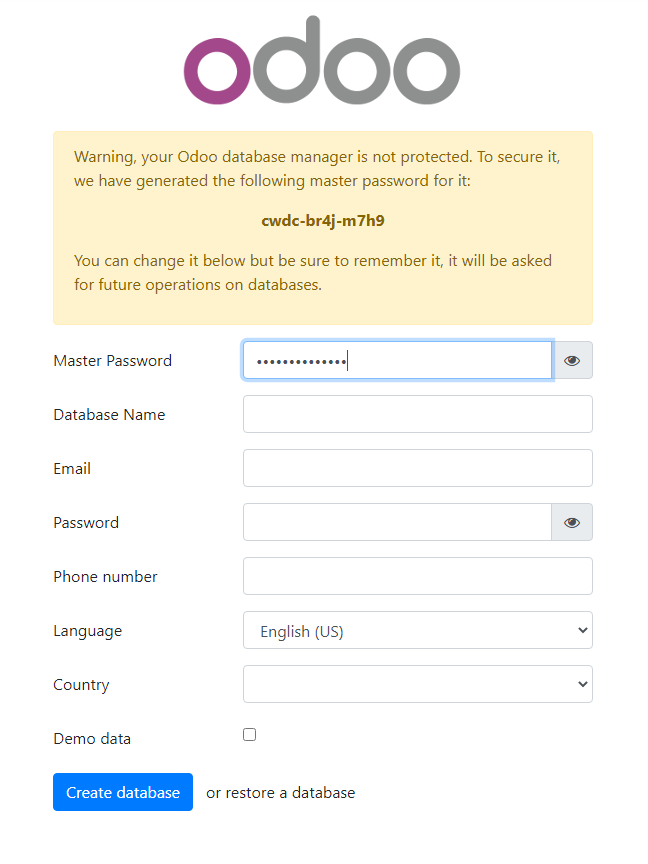
You should be able to access your Odoo instance by navigating to http://localhost:8069 (or the appropriate IP address of your host) in your web browser and finish the installation.
Now that you've successfully installed Odoo and PostgreSQL, you're one step closer to a fully optimized business management system. The next step is to set up Traefik or Nginx as a reverse proxy, further enhancing the accessibility and security of your Odoo instance. More about this in my blog posts Unleash the power of Traefik: Securing your Odoo instance with SSL and Setting up a reverse proxy for Odoo with Nginx Proxy Manager in Docker. If you would like to know more about Portainer, you can check out my blog post Efficient container management: A comprehensive guide to Portainer.